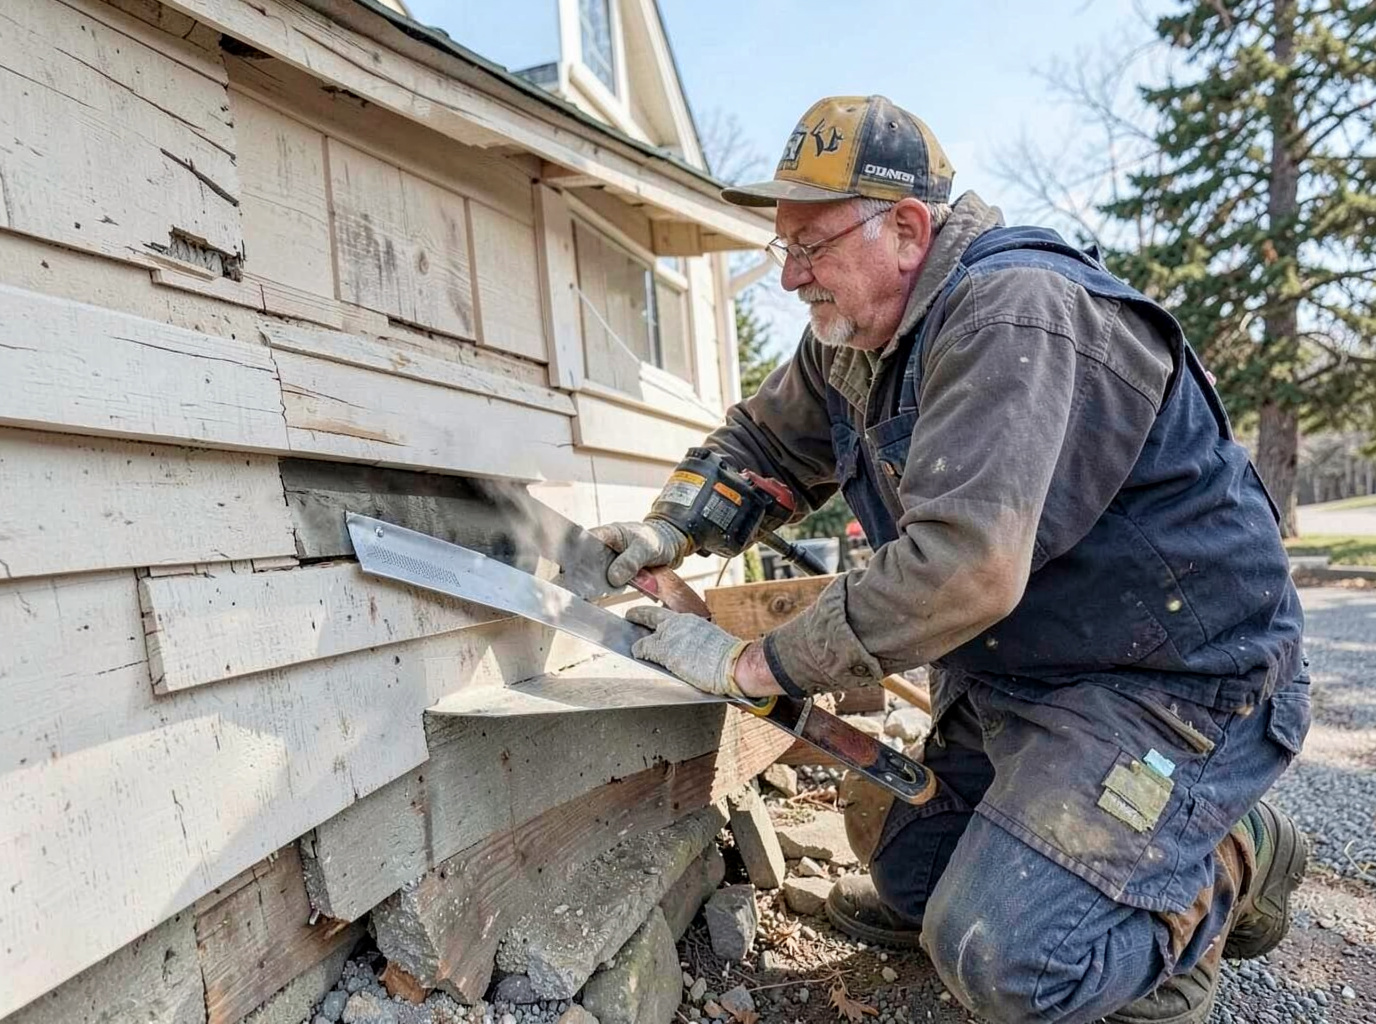
Chimney flashing on Coeur d'Alene homes often fails where step flashing meets brick or stone because repeated freeze-thaw cycles loosen mortar and push metal away from the chimney. Homeowners in neighborhoods like Sanders Beach and near Tubbs Hill see water enter at the rear of the chimney first after winter storms, since snow drifts against the uphill side and melts slowly. Proper repair requires removing damaged counter flashing, cleaning the reglet, installing new lead or copper step flashing, and sealing with high-grade polyurethane rather than silicone that cracks in cold temperatures.
Many pre-1980 homes in Kootenai County have chimneys set on the ridge or low-slope additions where standard apron flashing cannot handle the snow load. Technicians must check the cricket or saddle behind the chimney for rot, especially on houses near the Spokane River where wind-driven rain adds extra moisture. When the original flashing is galvanized steel that has rusted through, full replacement with copper or stainless prevents recurrence better than patching.
Code in the Coeur d'Alene area requires flashing to extend at least 6 inches up the chimney and 4 inches onto the roof under the shingles. Edge cases include stucco chimneys common on mid-century homes near Hayden Lake, where the stucco must be cut back cleanly to install new flashing without trapping water behind the finish coat.
Homeowners often discover the problem only after interior ceiling stains appear, because the leak travels down the sheathing before showing inside. Inspecting from the attic with a moisture meter reveals hidden damage that roof-surface checks miss.
Technician insight
In Coeur d'Alene the thing that catches most people out with chimney flashing repair is how quickly snow melt finds the smallest gap behind the counter flashing on the north side of the chimney. Older brick homes around Tubbs Hill and Sanders Beach have mortar that has already lost its bond from decades of freeze-thaw, so simply slapping new metal over the old flashing never lasts.
North-side leak on a 1970s brick chimney
Water stains appeared on the ceiling after a January thaw. Inspection showed rusted step flashing and open mortar joints on the uphill side where snow had drifted. We removed the damaged flashing, cut a fresh reglet, installed new copper step and counter flashing, and pointed the mortar. No further leaks occurred the following winter.
Chimney Flashing Repair Services We Offer
✓Step Flashing Replacement
Remove rusted step flashing and install new copper or stainless sections that integrate with existing shingles on Coeur d'Alene roofs.
✓Counter Flashing Repair
Cut new reglets in brick chimneys and secure fresh counter flashing to stop water entry at the chimney-to-roof joint.
✓Chimney Cricket Installation
Build and flash a new cricket behind chimneys on low-slope sections to divert snow melt and rain away from the masonry.
✓Lead Boot Sealing
Replace or reseal lead boots around flue pipes where they penetrate the roof deck on older Coeur d'Alene homes.
✓Masonry Chimney Flashing Upgrade
Upgrade galvanized flashing to copper on brick chimneys common in neighborhoods around downtown Coeur d'Alene.
Chimney Flashing Repair Cost in Coeur d'Alene, ID
| Service | Typical Range | What Affects It |
|---|---|---|
| Basic step and counter flashing repair | $350–$650 | Single-story homes with easy roof access |
| Chimney cricket addition | $650–$1,100 | Required on low-slope roofs behind the chimney |
| Full flashing replacement on two-story home | $750–$1,400 | Includes scaffolding or ladder setup |
| Lead boot replacement only | $225–$375 | When pipe penetration is the sole leak point |
Ranges are typical for Coeur d'Alene, ID and confirmed with an exact written quote before any work starts.
How it works
- 1
Site Inspection
Examine the chimney base from roof and attic, checking for rusted flashing, mortar gaps, and water stains on sheathing.
- 2
Material Removal
Carefully remove existing flashing and clean the reglet without damaging surrounding shingles or brick.
- 3
New Flashing Installation
Fit and secure new step and counter flashing with proper overlaps and mechanical fastening suited to local wind and snow loads.
- 4
Sealing and Cleanup
Apply compatible sealant at all joints and verify no debris remains that could cause future ponding.
Pricing
Pricing depends on chimney height, access difficulty, and whether cricket work or masonry repair is needed.